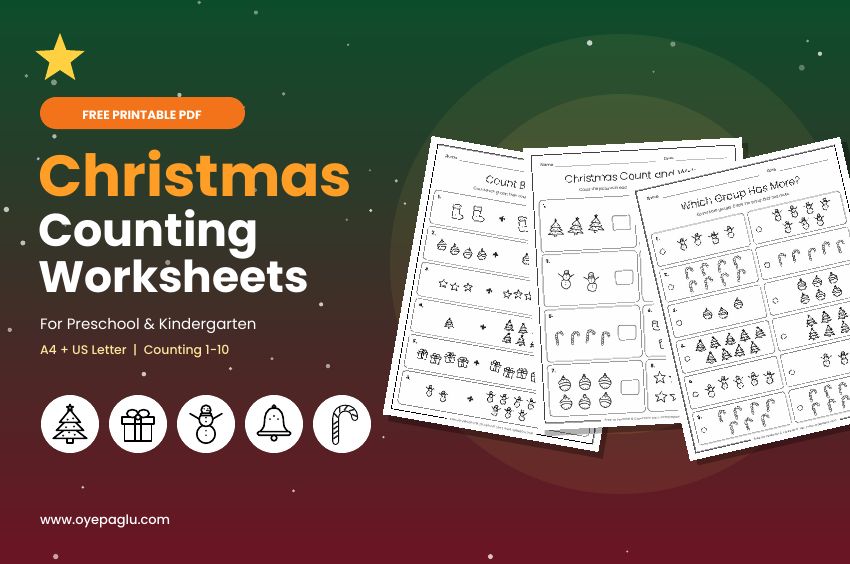
Cutting with scissors is a real skill, and it does not happen overnight. A child needs to hold the scissors, open and close them, and move the paper with the other hand, all at the same time. Christmas gives you the perfect reason to practice, because every picture ends up as a card, a decoration or a little craft.
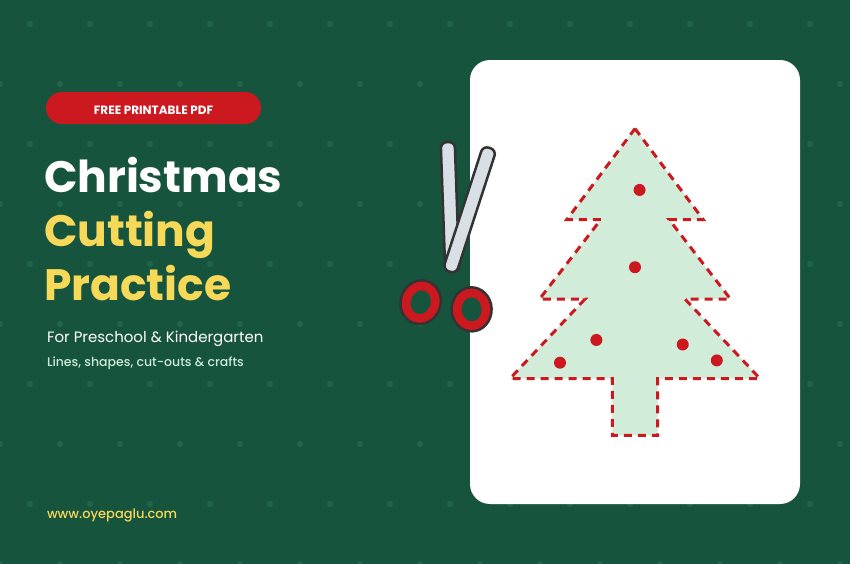
These sixteen free Christmas cutting practice worksheets are ordered like a ladder. Kids start with short snips, move to straight, zig-zag and curvy lines, then follow a path, cut out simple shapes, and finally cut out whole pictures. The last pages are cut-and-paste crafts. Every page is black and white with thin lines, so it prints light, and each one comes as a US Letter and an A4 PDF.
Free Christmas Cutting Practice Worksheets (PDF)
Step 1: First snips
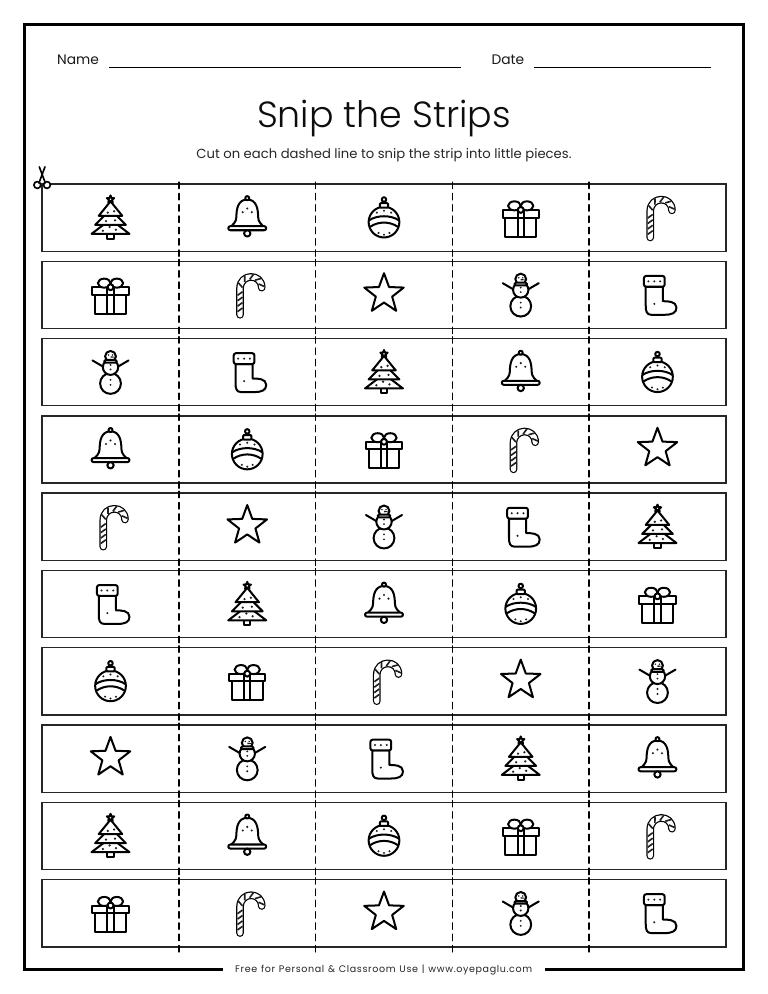
Short strips for the very first snips. One cut at a time.
Step 2: Cutting along lines
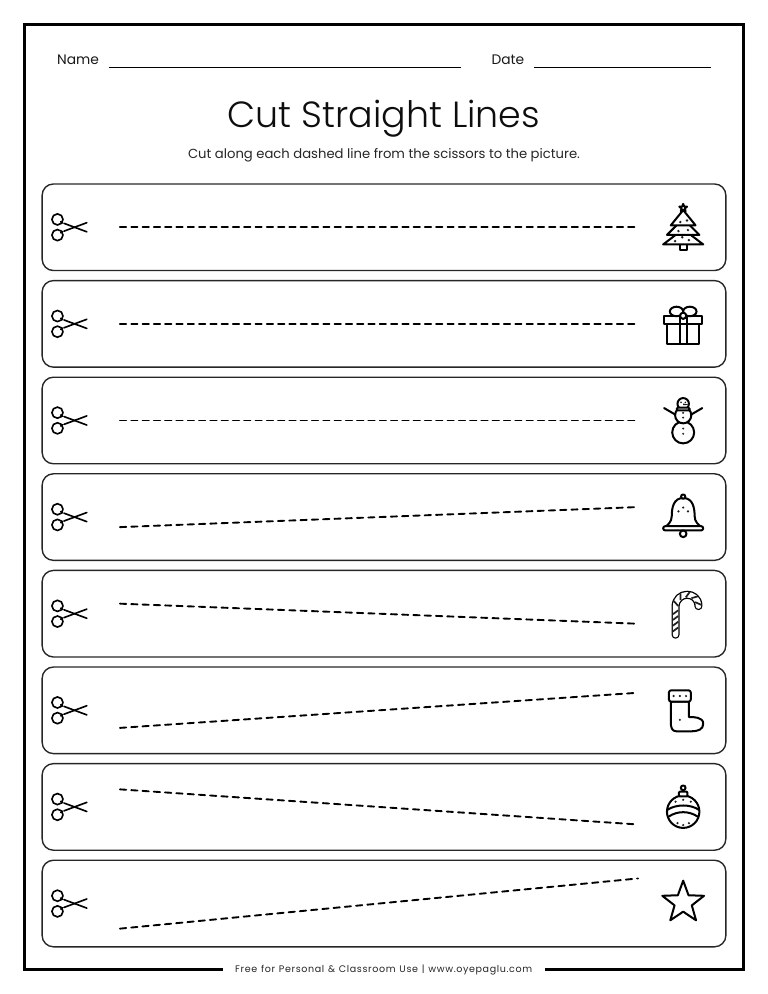
Straight dashed lines from the scissors to a Christmas picture.
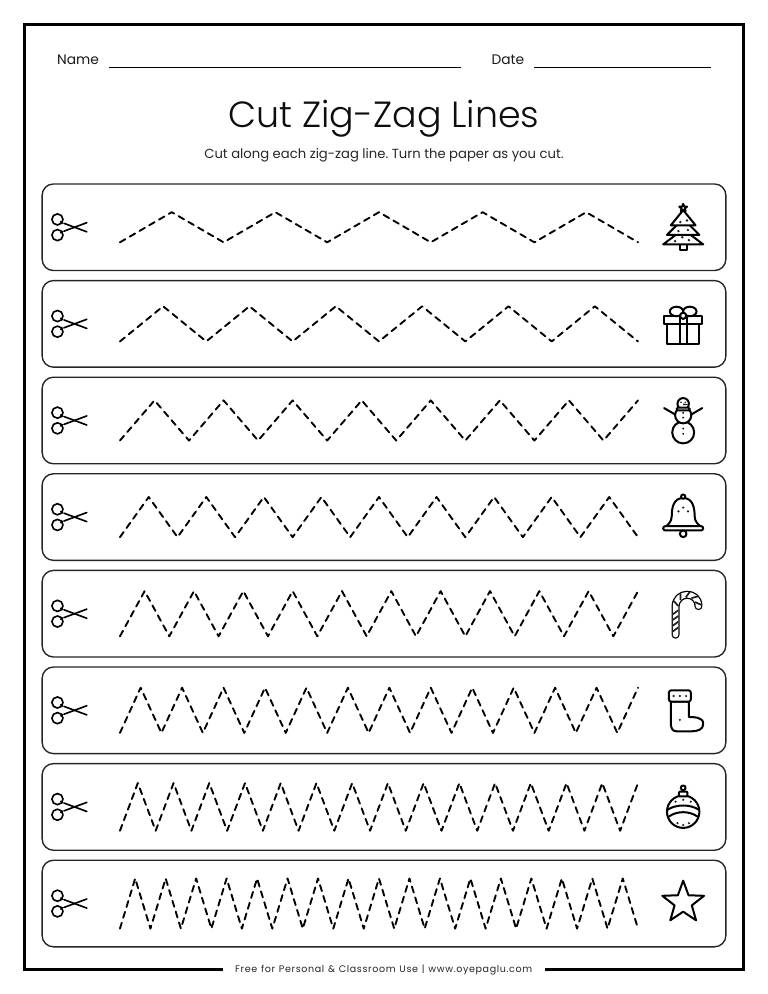
Zig-zag lines teach kids to turn the paper while they cut.
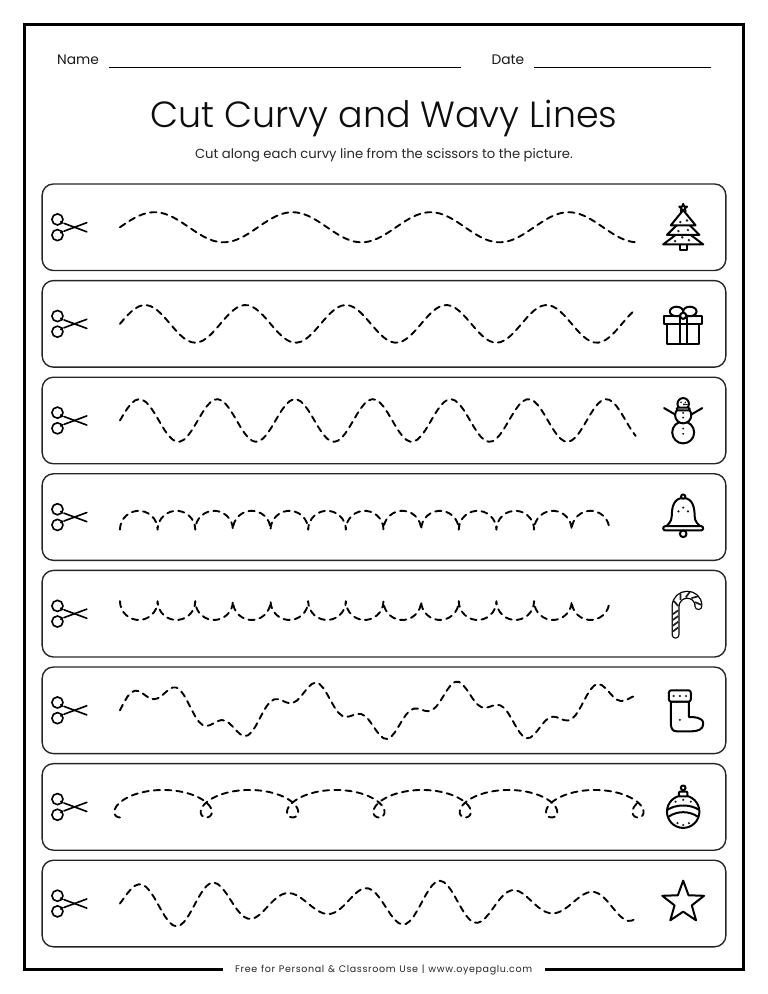
Smooth curvy and wavy lines for steady scissor control.
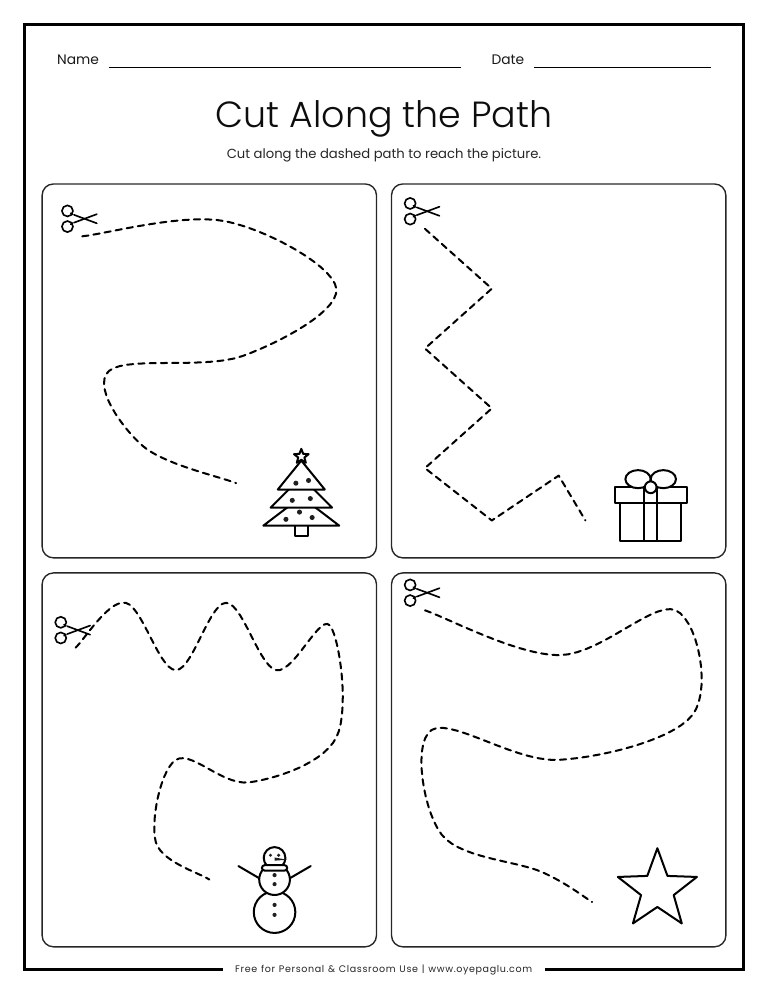
One long path with turns and corners, ending at a picture.
Step 3: Cutting out shapes
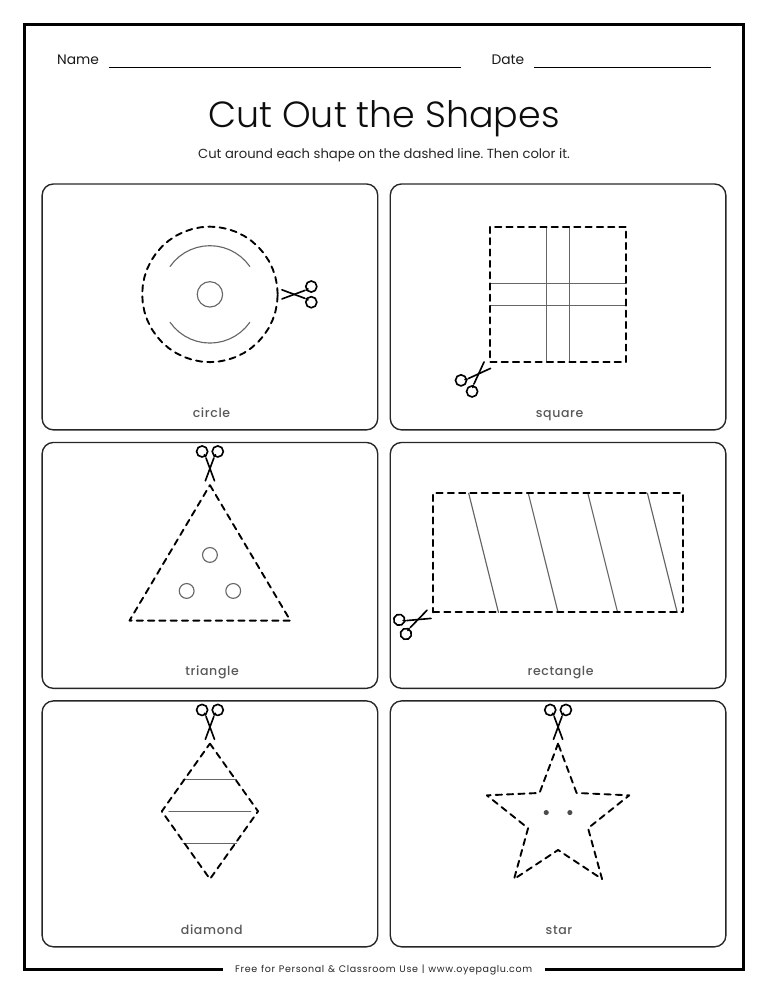
Circle, square, triangle and other shapes to cut on the dashed line.
Step 4: Cutting out Christmas pictures
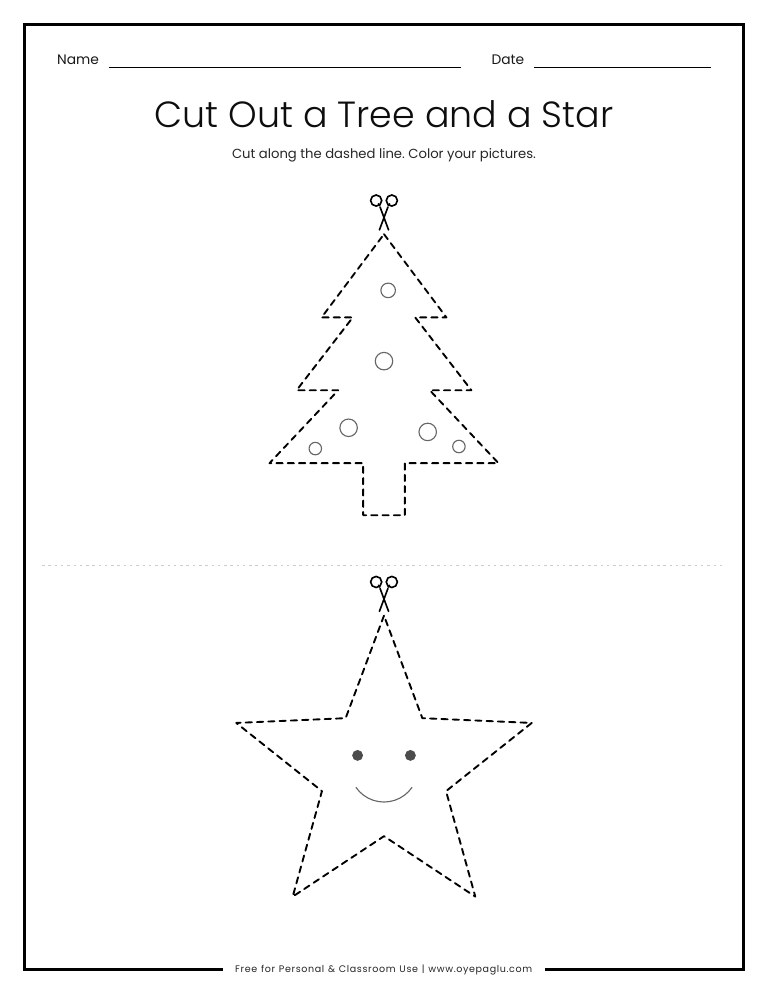
Two big Christmas shapes to cut out and color.
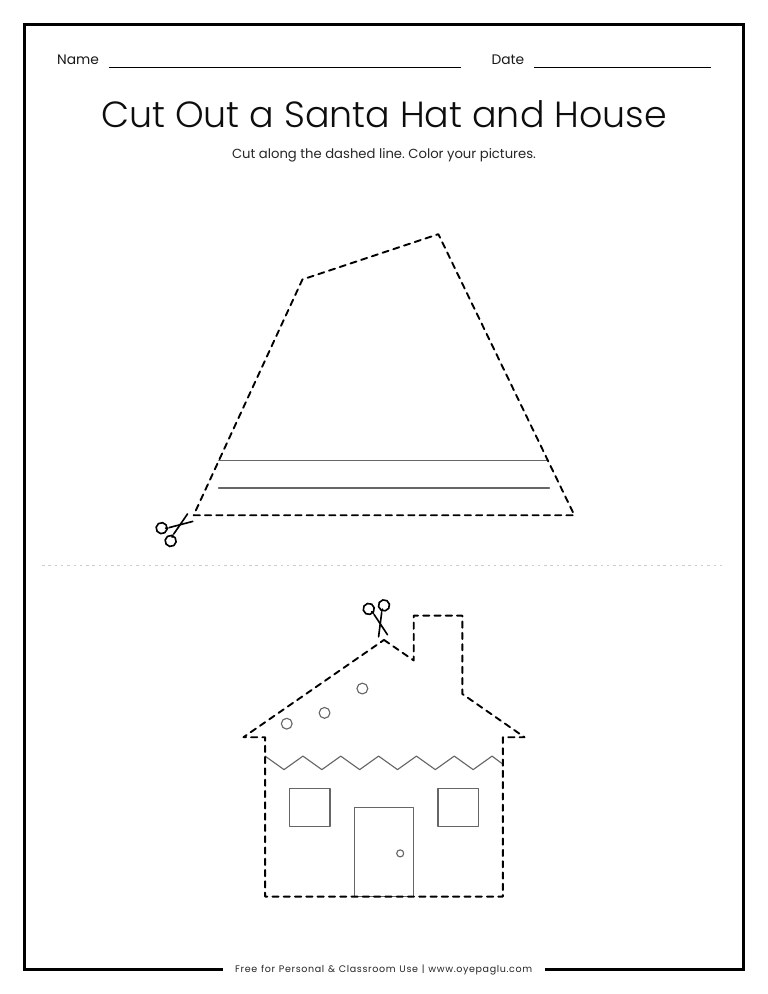
A Santa hat and a cozy house to cut out.
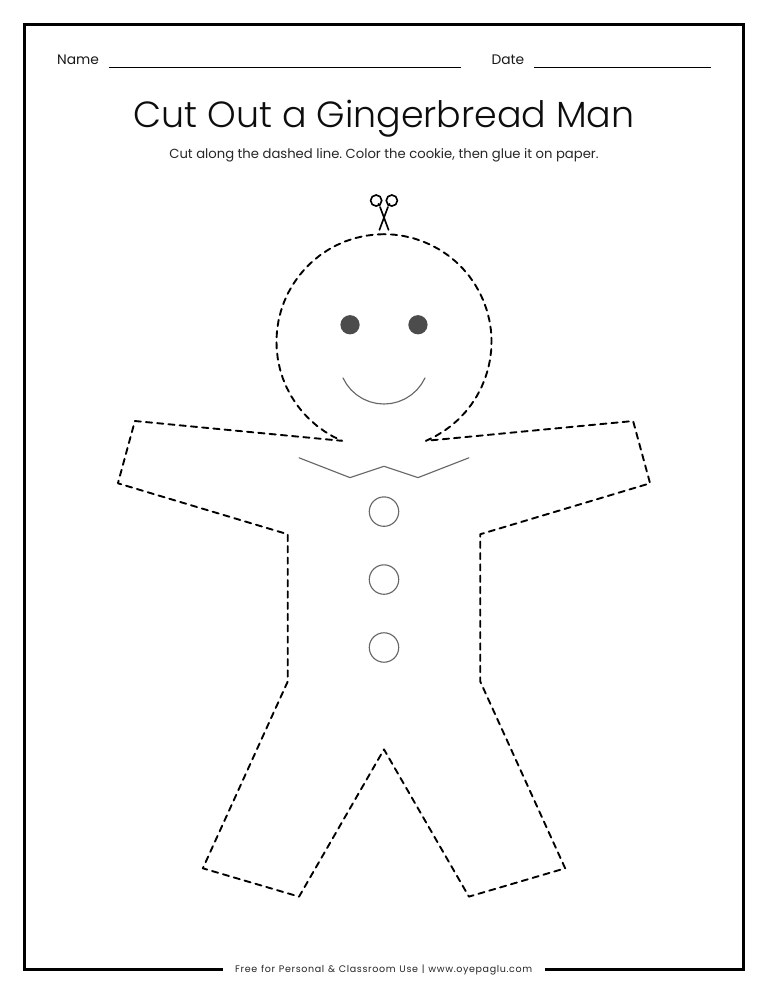
A big gingerbread man with arms and legs for careful cutting.
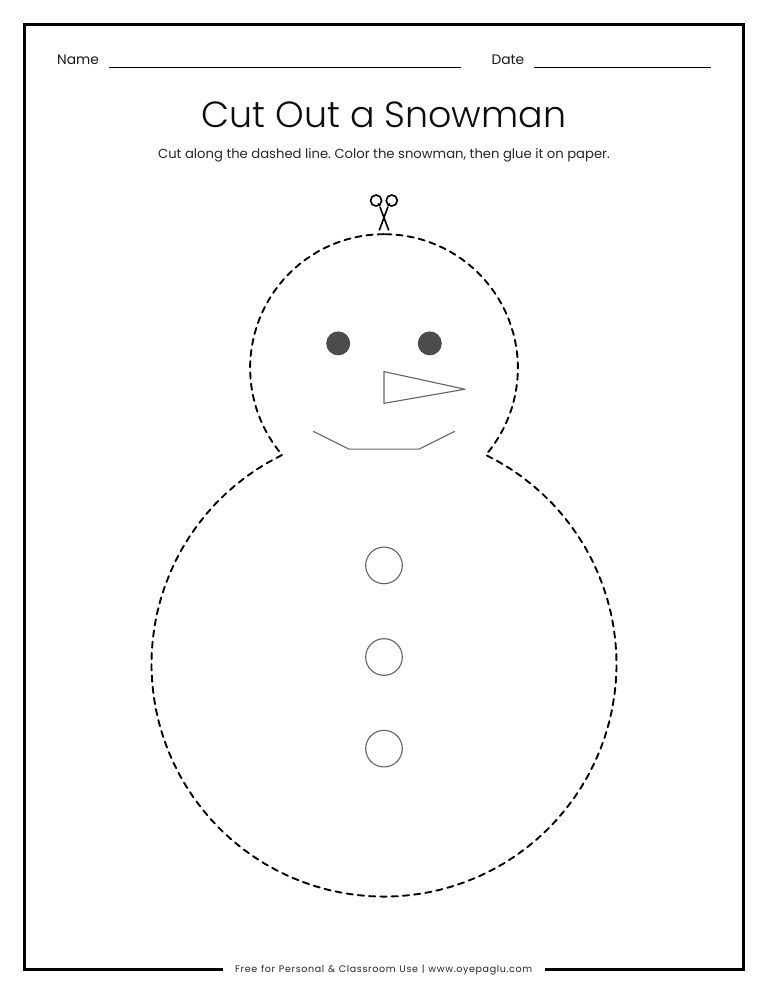
A big, round snowman that is easy to cut and color.
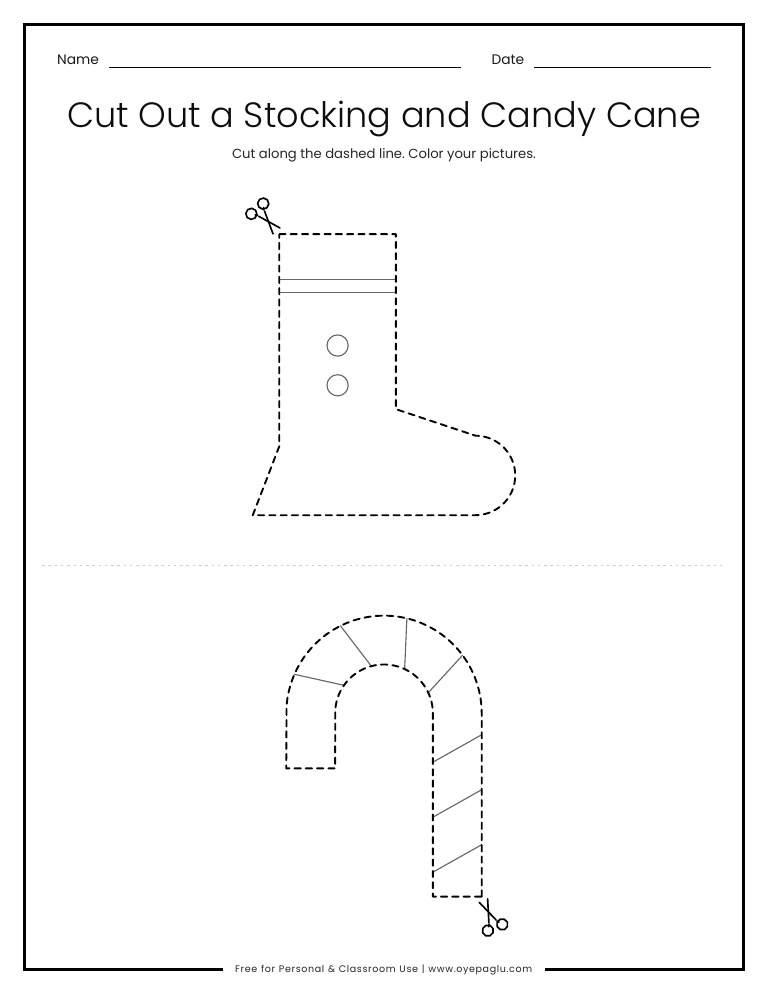
A stocking and a curved candy cane for more cutting practice.
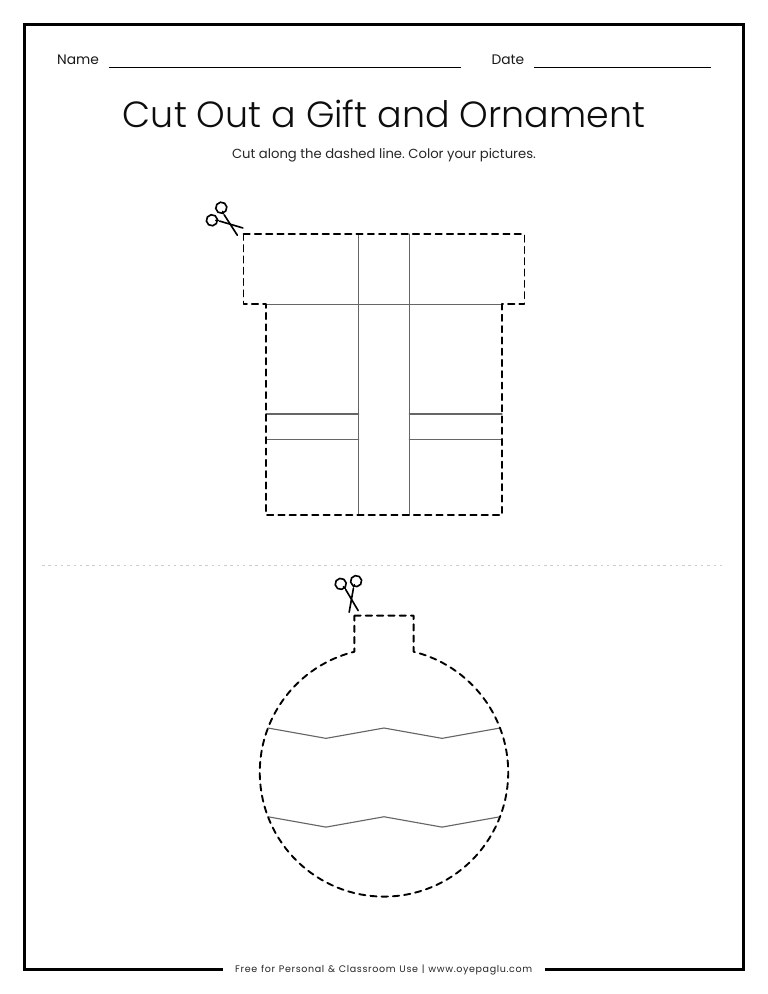
A gift box and a round ornament to cut out and color.
Step 5: Cut and paste crafts
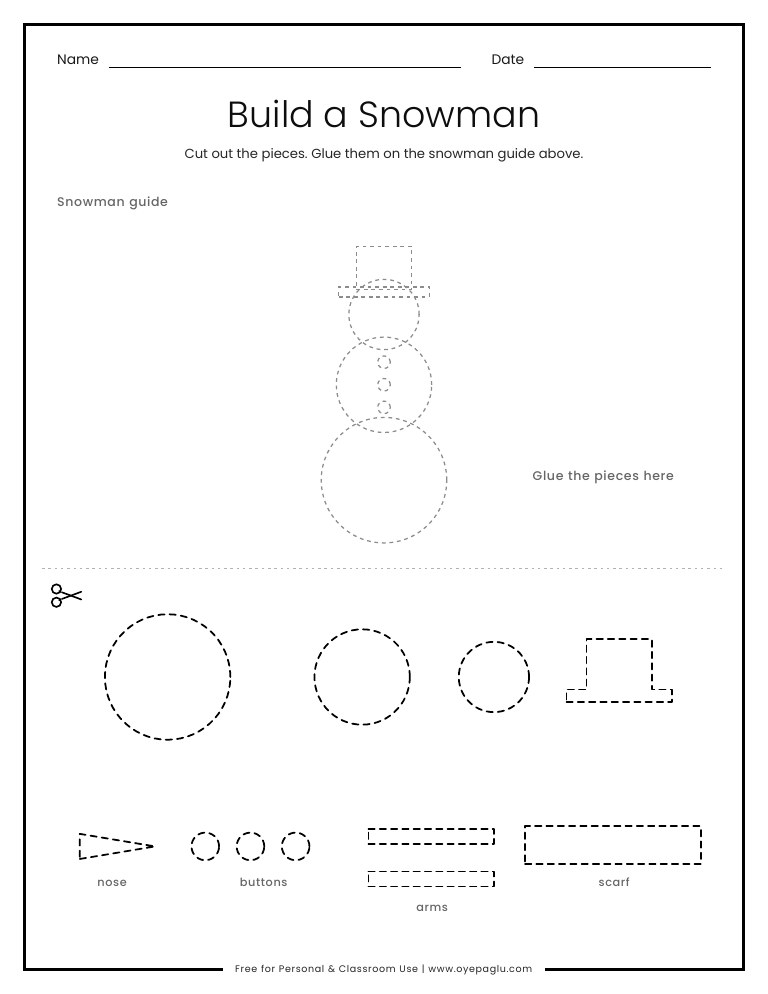
Cut out the pieces and glue them onto the snowman guide.
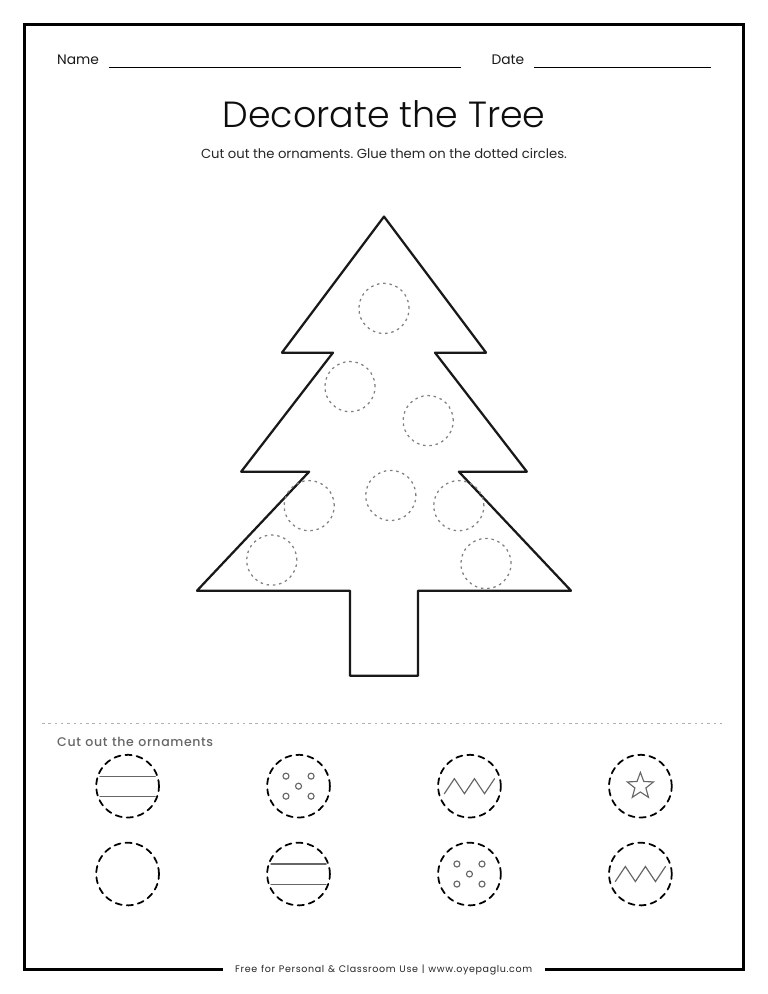
Cut out the ornaments and glue them on the dotted circles.
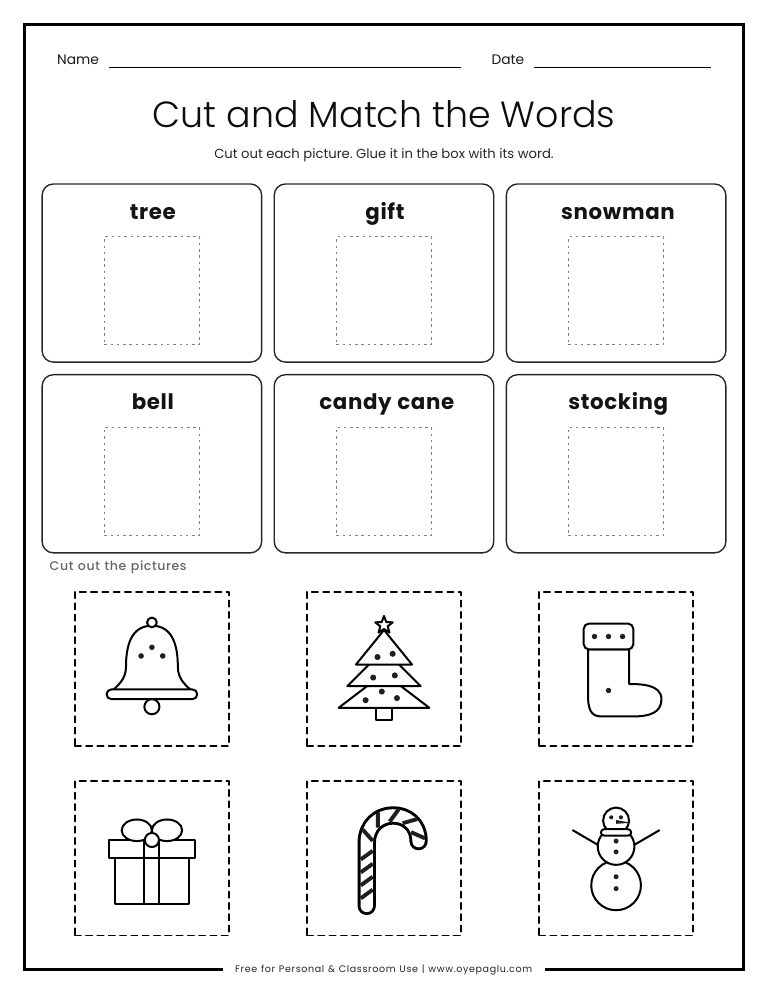
Cut out six pictures and glue each one in the box with its word.
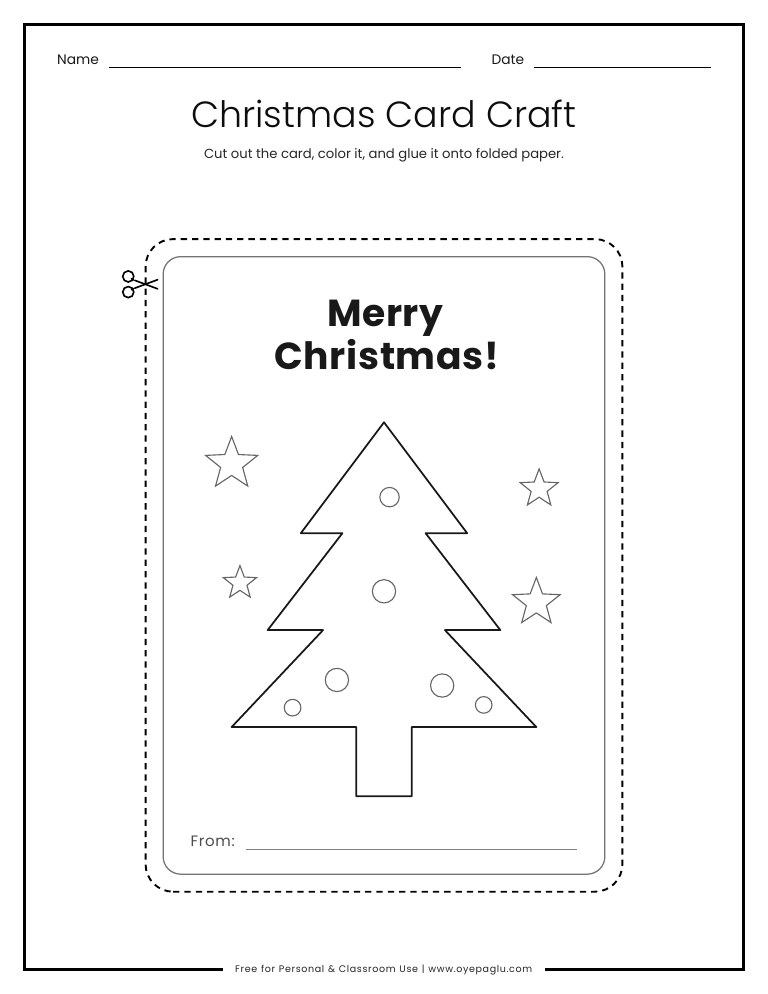
Cut out the card, color it, and glue it onto folded paper.
How to teach cutting, step by step
- Snipping. One snip makes one cut. Start with the strips, so the child only has to open and close the scissors.
- Straight lines. Cutting from one side of the paper to the other with a long, smooth cut.
- Zig-zag and curvy lines. The child now has to turn the paper with the helping hand.
- Shapes. Corners and curves together. Circles are the hardest, so don’t rush them.
- Pictures and crafts. Cutting around a whole picture, then gluing it down.
What does cutting practice help with?
Cutting builds hand strength and the two-handed coordination needed for writing, and it trains the eyes to guide the hand along a line. It also teaches patience. Many kindergarten teachers say that children who cut well usually find pencil control easier too.
Frequently asked questions
At what age can children start cutting?
Most children are ready around age 2.5 to 3 for simple snips, and around 4 to 5 for cutting out shapes. Every child is different, so go at their speed.
Should I print on thicker paper?
Regular printer paper is best for beginners. Thin card works later, once the child cuts with control.
Which size should I download?
US Letter if you’re in the US or Canada, A4 almost everywhere else. Print at 100% / actual size.
Are they free?
Yes, for home and classroom use. Please don’t sell or re-host the PDFs.